Vertical jigging, slip-bobbers, live bait rigging are all effective presentations for catching up a limit of walleyes under the right circumstances. Another and equally effective way to catch walleyes, whether spring, summer, or fall is by trolling. Trolling can work in shallow or deep  water, on structure, or in open water. If you are new to walleye fishing, getting equipped for trolling can be a daunting task as well as an expensive investment. The question is what is needed for a beginner to go out and start trolling for walleyes? I’m not going to be talking tactics here. There are many great articles and videos out there on various websites like www.thenextbite.tv that do a very nice job explaining various trolling presentations and techniques. I remember when I initially got into trolling. I had lots of questions. What type of rod? Reels? Line? Planer Boards? Bottom Bouncers, snap weights or in-line weights? My goal here will be to answer these questions and provide a guide on the minimum tackle requirements needed for a beginner to go out on the water and be successful at trolling for walleye.
 The first thing every walleye angler should have in their tackle box is what anglers on the walleye circuit call “The Troller’s Bible”. The actual name of this book is Precision Trolling by Mark Romanack. This book contains the dive charts for hundreds of the most popular crankbaits in the walleye world. The book is simple to use. First if you do not know the crankbait you are using, there is a life size picture at the top of every page, so can just match your bait to the picture. To use the chart just find the depth you want to run your lure on the left side of the graph and follow it over to where it falls on the dive curve and then follow that point down to the bottom of the graph and that will give you how much line you should let out to get that lure to run at that depth. This book takes the guessing out of the game and you know where your baits are running at all times. And this book isn’t just for running crankbaits. It has the dive curve for the Bass Pro Shops XPS Fish Weights and also the formula for running snap weights in front of both spinners and crankbaits and even information on using leadcore. Whether you are a weekend fisherman or a Pro angler on the walleye circuit, you must have this book in your tackle box.
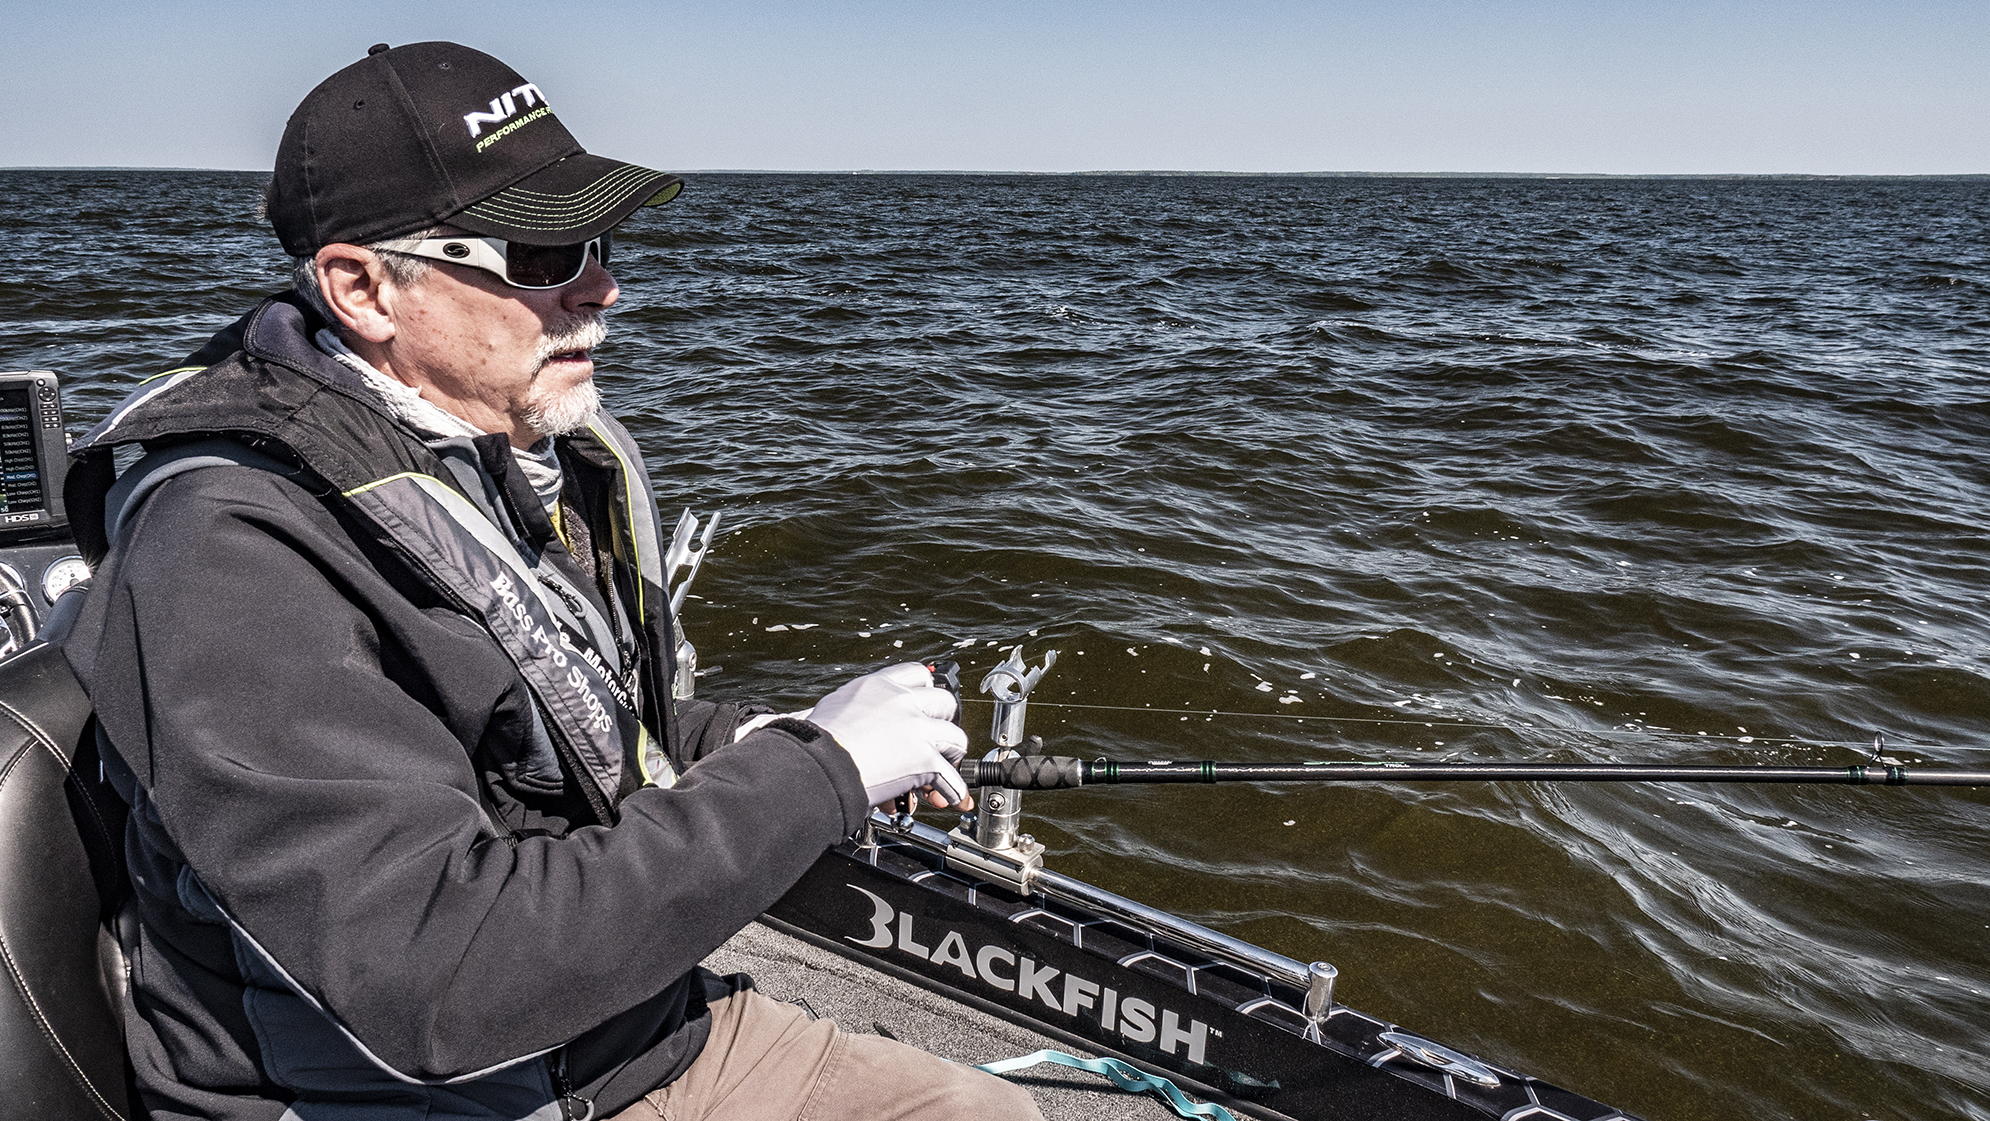
A walleye fisherman can break the bank buying rods and reels, but there’s really no need to. If you know what to look for in a trolling rod, you can get a good stick for about $100 and it will last you for many seasons. The trolling rod can come in many lengths and actions. A good size to begin with is an 8’6” rod with medium action and a fast tip. This action rod will give you the back bone to deal with the weight of the planer boards and the weight of the fish. The fast tip will give the “shock absorber” needed to deal with the strike of the fish as you are trolling along at 0.8-2.5 mph. A couple good quality rods to consider that are reasonably priced, durable, and most importantly functional is the Bass Pro Shops Walleye Angler Series Rods and new for 2012 is the St. Croix Eyecon Trolling Rods.
The key to trolling is the ability to replicate your presentation consistently. The best way to achieve this is by teaming your rods with a line-counter reel. I utilize the Okuma Stratamaster SM-20D reel. The reel is very durable, found the line counter to be very accurate, and the drag works great when battling large fish. The key to any line counter reel, no matter the brand you use, is to spool them all with the same amount of line and the same pound test line. The line counter is most accurate when the spool is full, so put as much line on them as you can. Also, by having all the same pound test, you know all your lures will run the same, that being depth and action. Follow these tips and you will be able to replicate all your presentations.
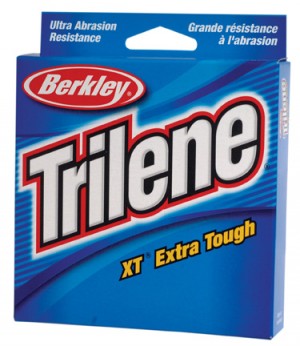 Shopping for fishing line can make you pull your hair out. Monofilament, flouro-carbon, super lines, the options are endless. For the beginner troller I would recommend either of these two lines; Berkley Trilene XT in 10lb test or Berkley Fireline in 10lb test. I would say 90% of your trolling could be done with the XT. Trilene XT is a monofilament line that is abrasion resistant and the big thing is that is gives you some stretch, which helps absorb the strike of the fish. The advantage with Berkley FireLine is that it is no stretch. Use this line when you are fishing your lures close to the bottom where it may pick up debris. By watching the vibration of the rod tip, you
 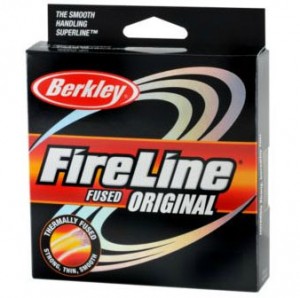 can tell immediately when your lures are fouled. The other advantage to Berkley FireLine is because it has a thinner diameter; your lures will run deeper than with the monofilament. The dive charts in the “Troller’s Bible” are shown using both the Berkley 10lb Trilene XT and 10lb Berkley FireLine. Spool your reels with either of these lines and you will not be disappointed.
To get your presentation in “the zone” you will need to rely on some type of weighting system. In-line weights, snap weights, bottom bouncers, which ones do you need? The answer is you should have them all in your arsenal. For fish relating to the bottom, a bottom bouncer will be your best choice. A good choice for a bouncer is the Fin-tech Tech Bouncer. This bouncer has a unique weight changing system. Instead of changing the entire bouncer you just change the weight and they range from a ½ ounce to 4 ounces. When you are targeting suspended fish, you can use either in-line weights or snap weights. For in-line weights I would recommend the Bass Pro Shops XPS fish weights. These weights have a holographic finish that serve as an added fish attractant ahead of your harness. Another advantage is that for the beginner “The Trollers’ Bible” has the dive chart for these weights. For snap weights I would recommend the Off Shore Tackle OR20 Pro Weight System. This system will provide you with the needed weights to fish at varying depths and the conversion chart for running them in front of crankbaits and crawler harnesses is present in “The Trollers’ Bible” for ease of use. Another advantage to the Pro Weight System is that if you want to save money you can also run them as an in-line weight. You will be amazed at the times when you can 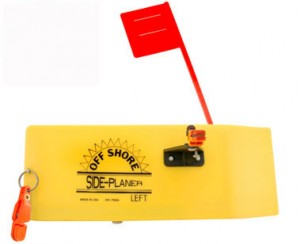 have the same presentation running but the only difference is the weighting system and one will catch fish and the other won’t.
We troll in varying depths of water. Walleyes are very spooky when they see the shadow of the boat running over head, so you have to get your presentations out away from the boat. The best way to accomplish this is by using planer boards. The Off Shore Tackle OR12 Side Planer is a great choice, it has the best weighting system on the market. Even at very slow speeds this board will remain upright. This board will work great for you right out of the package, but a few simple modifications can take your fishing to the next level. First off remove the rear clip and split ring and attach it to the center post with the provided bolt and nut as pictured. By doing this you will notice the board will run more horizontal in the water and it will be easier to detect lighter bites. Another upgrade is to add OR12TF Tattle Flag Kit. Whether you have a small fish or a weed it will cause the flag on your board to get pulled down.
This article is just a brief guide on the tackle required to troll for walleyes. Trolling is a very effective presentation at all times of the year and combined with the right equipment to get you started, I know you will be successful. Please look for part 2 of the series that deals with basic equipment and rigging your boat for trolling. Good Luck and we will see you on the water.